

Summary: Windows was unable to complete the format error message is one of the odds in formatting the USB flash drive, this causes the USB flash drive to be unresponsive or turns inaccessible and worse loss of data. Don’t panic, this article will provide you with easy solutions in recovering your data and also demonstrate how to fix this error in step by step with Bitwar Data Recovery Software.
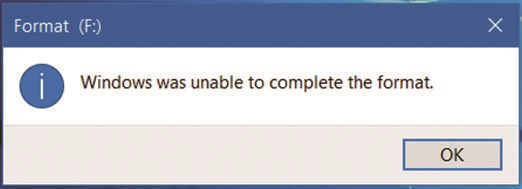
People are very much like using USB flash drive to save photos, audio, music, or any multi-media files in USB flash drive because of its small size but large capacity. However, it’s quite frustrating when Windows was unable to complete the format error message shows up even the vital data becomes inaccessible. Generally, you will receive such prompt when you were trying to format the disk.
Then what kind of reasons can cause such an error?
Table of Contents
Reasons why Windows Was Unable to Complete the Format
Here are some of the possible reasons:
- Virus/malware infection
- Storage devices have bad sectors
- Damaged Storage device
- Disk write protection
Thus, if you aren’t capable to repair your USB flash drive when having one of the reasons showing above, some of you may try to format the drive to give a try, however, a Windows alert pops up to warn you the format process was stopped.
What should we do then? Relax, simply follow steps below to make your drive work as normal again.
Solutions to Fix Windows was Unable to Complete the Format Error
Fixing “Windows was Unable to Complete the Format” error can be done through Windows Disk Management or Command Prompt but before you get there, answers these questions that best fits your need:
- What is your USB Flash Drive capacity storage?
- What best suits your USB purpose as well as the target environment?
- What kind of file system do you want to have based on its benefits? NTFS, FAT, FAT32 or exFAT?
After answering the three (3) given questions above, let me lead you in a deeper understanding of what would be your next steps.
Before that, let us discover the advantages of each file system: 1) NTFS, 2) FAT, 3) FAT32, or 4) exFAT. File systems are logical constructs used by the operating system in file management on disk partitions and devices.
Advantages of the NTFS file system
- NTFS effectively deals with very big files and partitions. This means that Windows can format sizes up to 2 terabytes.
- The boot sector is supported by a sector at the end of the volume.
- Guarantees privacy and sharing in the multi-user environment with the built-in security system which controls the sharing of files between users and has established a level of permissions.
- It is stable and robust and user-friendly.
- Capable to encrypt and decrypt files. Moreover, it can compress and decompress files for better disk management.
- It is more multifaceted and suggests various enhancements.
Advantages of FAT or FAT32 file system
File Allocation Table or FAT has a derivative called FAT32 which overpasses the 2GB capacity storage.
- The simple file system mainly functions in keeping track of file locations. Due to its simplicity, it is a good option for portable storage e.g. flash and/or mp3 players and memory cards.
- Operating systems is well-matched with either FAT, FAT32 is since it is more universal and has been around for quite some time now. Thus, if your target environment is the older version of a computer, television set, printer, and projector, then choose FAT32.
- Uses small clusters allows better space management.
- The maximum file size is 4GB.
Advantages of the exFat file system
- Surpasses the 4GB maximum file size limitation of FAT: 64-Bit File Size.
- Overpowers 64k cluster size limit of FAT: Cluster Sizes up to 32M.
- exFAT volumes have only one FAT, decreasing the space and handling overhead.
- Reading and writing files faster, up to 90% of all files on a disk are connecting continuously.
To put in simple words in choosing the file system when formatting your USB flash drive, you should always consider the portability (target environment) and capacity of USB flash drive (greater or lower than 32 GB).
After you decide which file system you wanna covert, you can follow the steps below to format your USB flash drive.
Format USB Flash Drive to NTFS, FAT/FAT32, exFAT by Windows Disk Management
1. Insert the USB Flash Drive into your laptop or computer; wait for Windows 10 to detect it. Right-click the “This PC”, in Windows 7, Vista or XP, it called as “My Computer”, and select the “Manage” then go to the “Disk management” from the options.
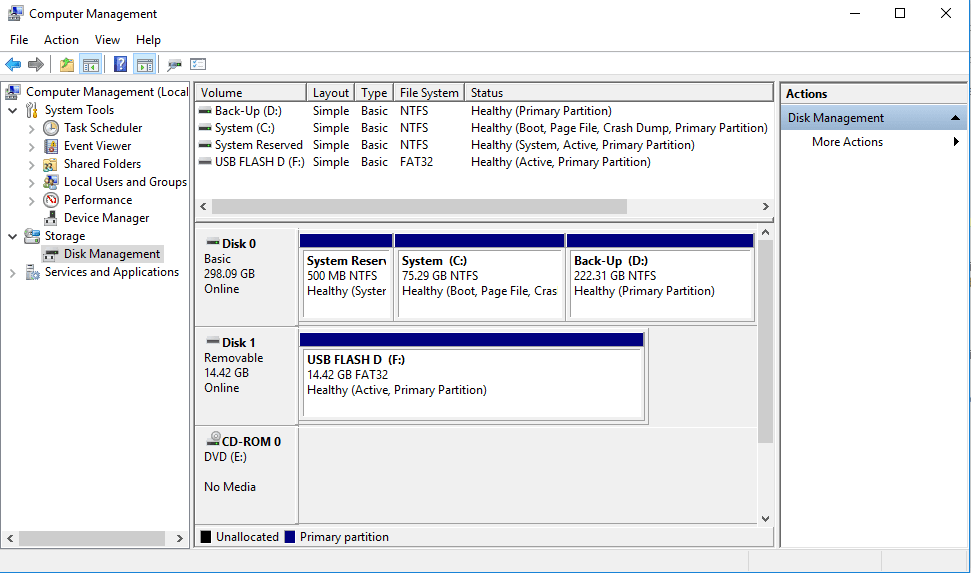
2. Select your USB Flash Drive hitting right-click and select “Format”. If there are any partitions on the drive, make sure to delete them all first.
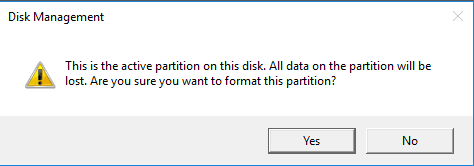
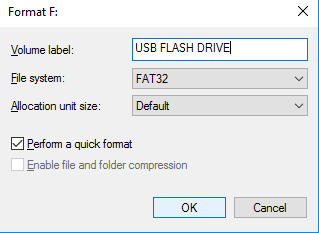
3. Choose from the “Filesystem” – NTFS, FAT, FAT32 or exFAT that best suits your need. Enter the name of your USB Flash Drive in the box of “Volume label”. Click “OK” to confirm that you want to continue the formatting procedure.
Format USB Flash Drive by Command Prompt
1. Insert the USB Flash drive into your laptop or computer; wait until it will be detected.
2: Open Command Prompt by following this flow: Start →Accessories →Command Prompt or Start → Run → type “cmd” → Enter
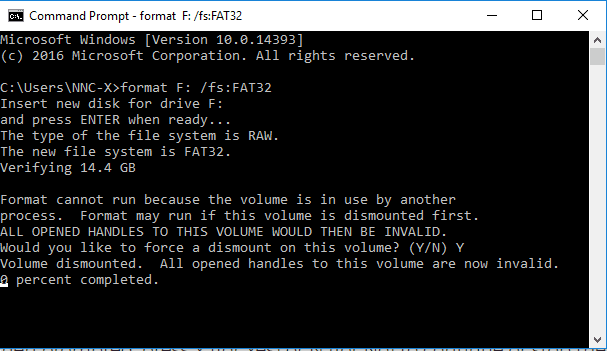
3: Assuming your USB flash drive is assigned the letter “F”: type the following command in the Command Prompt with the following:
format F: /fs:FAT32
If you would like to convert the file system into NTFS, FAT, exFAT, just change FAT32 to the target file system.
Step 4: To continue or stop the formatting process, press Y (for Yes) or N (for No).
Once the formatting procedure completed, you just victoriously formatted your USB flash drive with your chosen file system.
The big BUT is what if some files you badly needed to recover and you dismayingly lost due to formatting? Chill! Bitwar Data Recovery is here to be the hero!
Steps to recover files when Windows was Unable to Complete the Format Error
1. Download the Bitwar Data Recovery by clicking the download button to download the installation whether in Windows or Mac and then install it to your computer.
2. Launch the software after installation and then choose your USB flash drive in the Disk Partitions and Devices list and then click Next to continue.

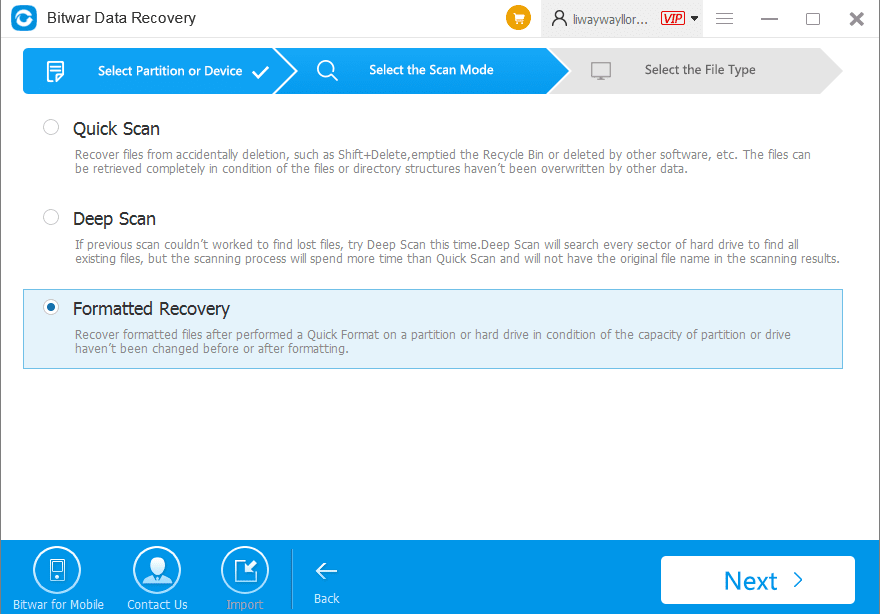
3. Click the Formatted Recovery as the recovery mode and hit Next.
4. Choose the Select All Types and click Scan.

5. Bitwar Data Recovery will indicate the percentage of Scan Progress and Estimated time remaining. Once done, select the file(s) you wish to retrieve and click Recover.

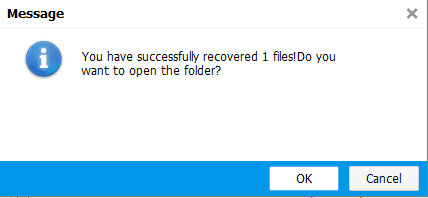
6. A message will pop out indicating that you have recovered the file(s) you selected.
7. Save your files to another location and there you have it! You may now view your recovered files from your USB Flash Drive.
At times, you haven’t formatted the USB Flash disk, but just accidentally deleted the files, you can visit this tutorial: How to Recover Data from Pen Drive to find out the solutions.
Conclusion
We hope that you gained relevant information from this article in formatting your USB Flash Drive whether can fix “Windows was unable to complete the format” error. However, you should take note to back up your files gradually before formatting and choose the appropriate file system considering the capacity storage, portability, and etc.
The unlucky formatting of USB Flash Drive may cause great trouble especially if there are no backup files and there was something in it that wasn’t supposed to get deleted. Then try recovering data with Bitwar Data Recovery Software is another option to get back these vital files.


Wow, very complete guide! I had this error and had to take it to someone who ended up being pretty expensive for his service, while I could of check this haha! Glad I know how to do it now, but I still hope not to deal with this again, thank you for this article!
Comments are closed.